Learn to create your Google AdSense account and apply for AdSense with this step by step guide. Use Site Kit plugin to make this process easy
Earning from Google AdSense is one of our priorities in our blogging mentorship program. And, its highly pleasing to see Google AdSense approval email in your Gmail inbox.
Throughout our previous sessions, we have already covered website creation, content writing and publishing, SEO, marketing and promotion. By now, you might have gained good enough traffic on your blog.
Its time to focus on monetizing your blog. And, Google AdSense is one of the best monetization method to start with.
Here in this article, I will guide you through the steps to apply for it but before that, cross-check Google AdSense guidelines to ensure AdSense approval.
Let’s begin!
1. Create a Google AdSense account
First, you need to create an account on Google AdSense, which you can do by using your Google account.
To do so, visit Google AdSense website. Click on “Get Started”.
It will ask you to select your Google account.
Use your original Gmail account that you use for all your official work, that has your real name and identity. Using pseudo Google account may lead to rejection. The one that you use for all your official work with your name.
Next, a form will appear, asking for your website and other details. For website, follow the pattern like “example.com.” (without www, or https://)
Also, select if you want notifications and customized help from AdSense via email using the bullet options. Select your country and tick mark on the terms and conditions section after reading it, and finally click on the “Start using AdSense” button.
Your AdSense account will be successfully created, and you will see the homepage of AdSense as shown in the our next section.
2. AdSense
This (screenshot shown below) is the logged-in homepage of Google AdSense where you get all the options to manage your ads & account, and track your earnings.
As a first time user, you get 3 setting options in the front page, as shown below.
Now, let’s proceed with the option number 1.
2.1 "Tell us about you" option
Click on the “Enter Information” button in the first card. A new form will appear where you have to enter your name, complete address with postal code, and contact number (though it is optional). Once it’s all done, click on the “Submit” button and move on to the next step.
2.2 "See how your ads look like" option
Click on the “Explore” button of option no 2. Here you can set the Ads position and formats that will appear on your website once AdSense is approved.
Simply enable auto ads, and click on “Apply to site“.
2.3 "Connect your site to AdSense" option
Click on the “Let’s go” button in the third card, to connect the website with your AdSense account.
A new window will appear with your unique AdSense code as shown below. This is a way to verify that you are owner of your website.
Click on the “Copy” button.
After copying the code, it’s time to paste the code into the HTML of your website, between the <head> and </head> tags.
Follow the below-mentioned steps carefully:
Open your WordPress Dashboard in a new window or tab.
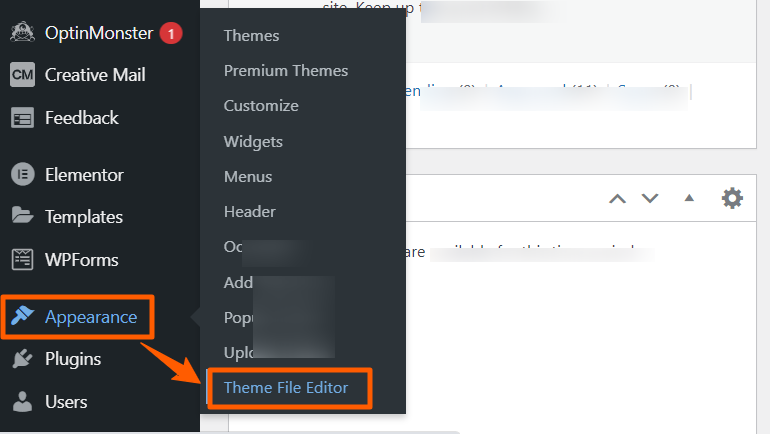
Click on the “Appearance” option given at the bottom left side.
Click on “Theme file editor”.
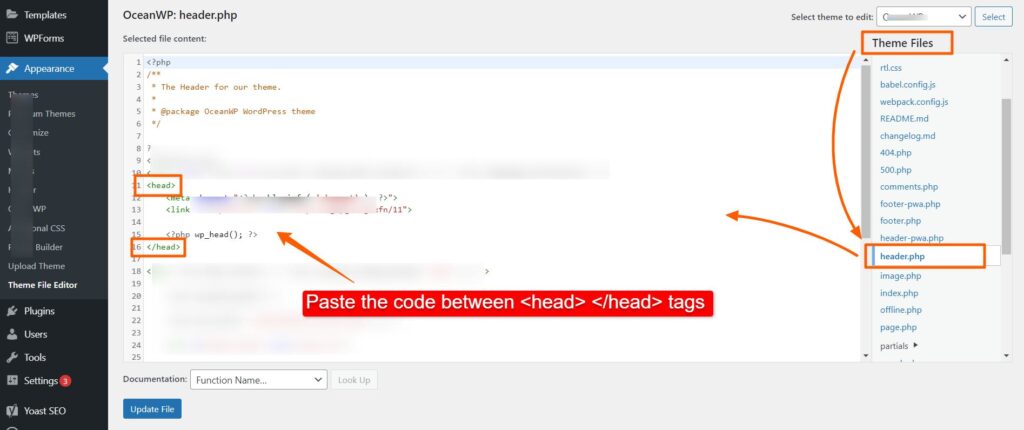
On the right hand side, under Theme Files, click on header.php
Add a new line in between your <heads> and </heads> tags and paste the AdSense code without erasing anything else in that code.
Clicks on “Update File” button that appears at the bottom.
Now, go back to your Google AdSense tab and click on “Request for Review”
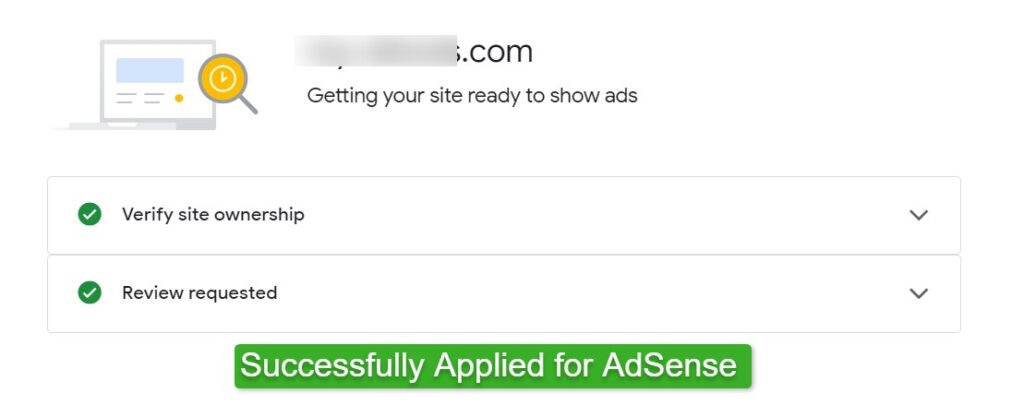
Congratulations! You have successfully applied for Google AdSense. You need to wait for Approval or rejection email.
Note: You can also explore the “Google AdSense Help” option to read everything about Sign up and activation in detail.
Method 2: Applying for Google AdSense Using Site Kit Plugin
To make it easy for non-tech bloggers, Google has its plugin called Site Kit. It allows you to apply for AdSense much easily.
Go to plugins > add new plugin, search “Site Kit”, install and activate the plugin.
Once activated, a new setting option with the name “Site Kit” is added in your WordPress dashboard menu.
Click on site kit menu, and go to the monetization stage.
Next, you have to login your Site Kit AdSense using your AdSense Gmail account. Click on complete setup.
Site Kit will ask you to add your site here.
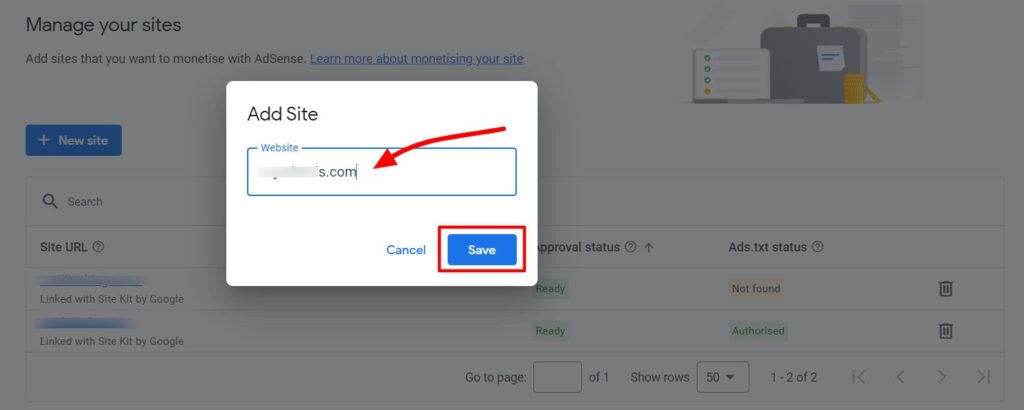
Click on the button, and it will take you to your original AdSense account, asking you to add your website URL.
Enter your website URL with https:// or www. And, save it.
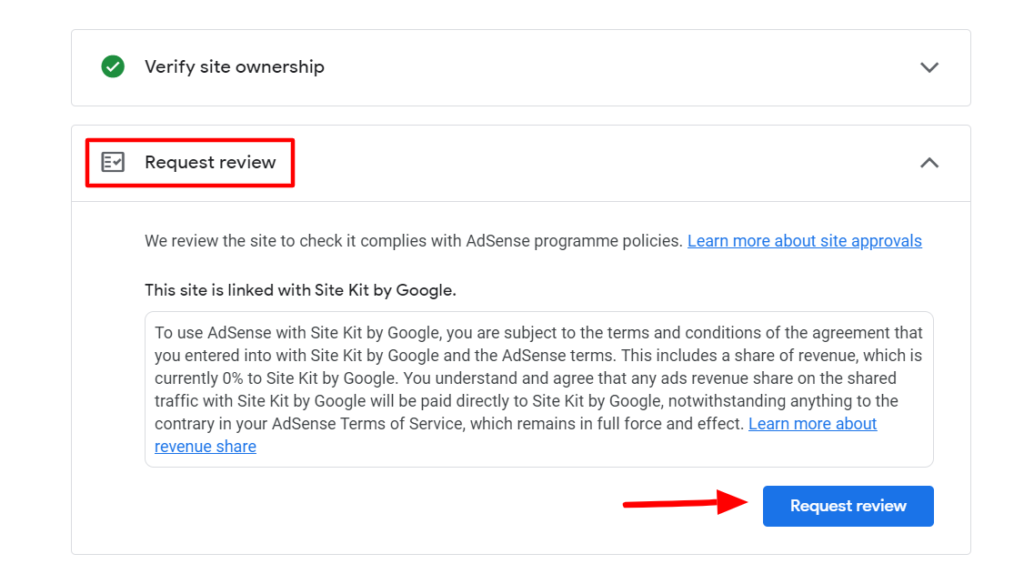
AdSense will ask you to verify the ownership of your site. For this, you simply have to allow the site kit. The Site Kit plugin will add the verification code by itself without any manual action.
Click “Next” to move ahead.
Once ownership is verified, you have to request for review by clicking “Request Review” button.
Google AdSense will now review your website, if your site is ready to show ads or not. If your website follows the AdSense guidelines, then there are higher chances of approval.
Wrapping Up
Typically, it takes up to a few days or sometimes 2-4 weeks. You have to wait patiently and make sure that your website is getting enough traffic with at least 100 unique visitors per day.