Google Docs is a word processor accessible from any device where you can create, edit and store all your documents online.
Bloggers use different resources to create their blogs, and one such tool is “Google Docs”. It is similar to “Microsoft Word” but you don’t need to install any software to access it.
Google Docs is a word processor (a product of Google) accessible from any device where you can create, edit and store all your documents online. You can organize your document with ease and share it with other people too.
Learn to use Google Docs effectively in this article.
How to access it?
You can go to docs.google.com and if you are logged in to your Google account, your Docs will open up. Here you will find all your previous documents.
Click on the “+” sign to open a new document.
Another way to access it is though Google Chrome browser when Google is set as a preferred search engine. Click on the Waffle icon (nine dots) given on the top corner of the right side and select “Google Docs” from the options.
It will be open where all your previous documents will be listed along with a few different formats of documents. Click on the “+” sign to create a new document just as shown above.
Give a name to your newly created Google Docs in the top available option.
How to format your document?
You can change the text or paragraph style in your document and use bullet or numbering to highlight the list of things.
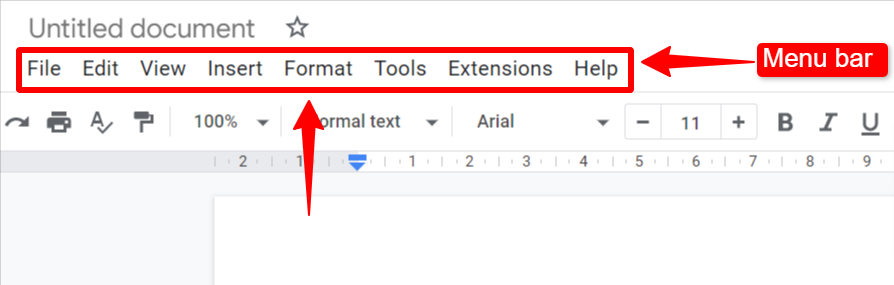
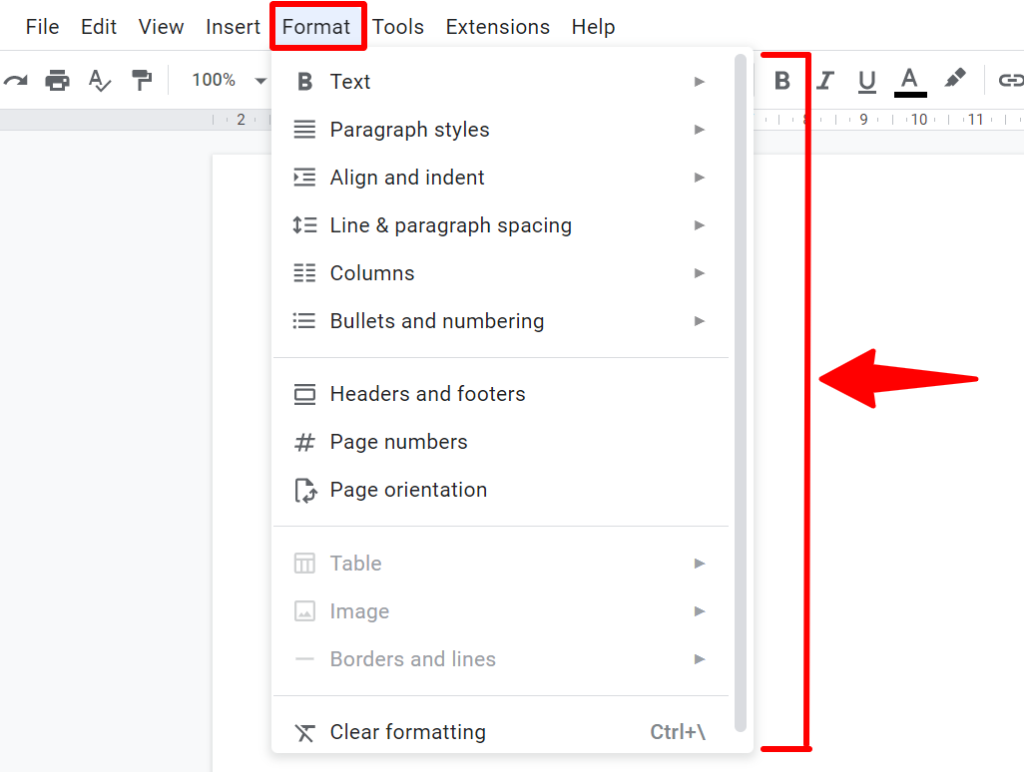
All of this can be done from the “Format” tab given in the menu bar. You just have to click on it and explore its options to format your document.
Text: You can change the appearance of your words from bold, italic, or underline and you can strike through any word. You can also change its script or capitalization.
Paragraph styles: You can make your paragraphs look more outstanding by selecting a perfect heading format for the text. For the min heading you can change Heading 1, and for sub-headings, you can go for H2, H3, etc. as shown below:
Align and Indent: You can change the alignment of the text from left, right, center, or justified.
Line and Paragraph: Here you can add space between the lines of a document.
Column, Bullets, and Numbering: You can turn your paragraphs into columns and add bullets or numbering to the list.
Header, Footer, and Page numbers: You can add page numbers along with the header and footer.
How to insert images?
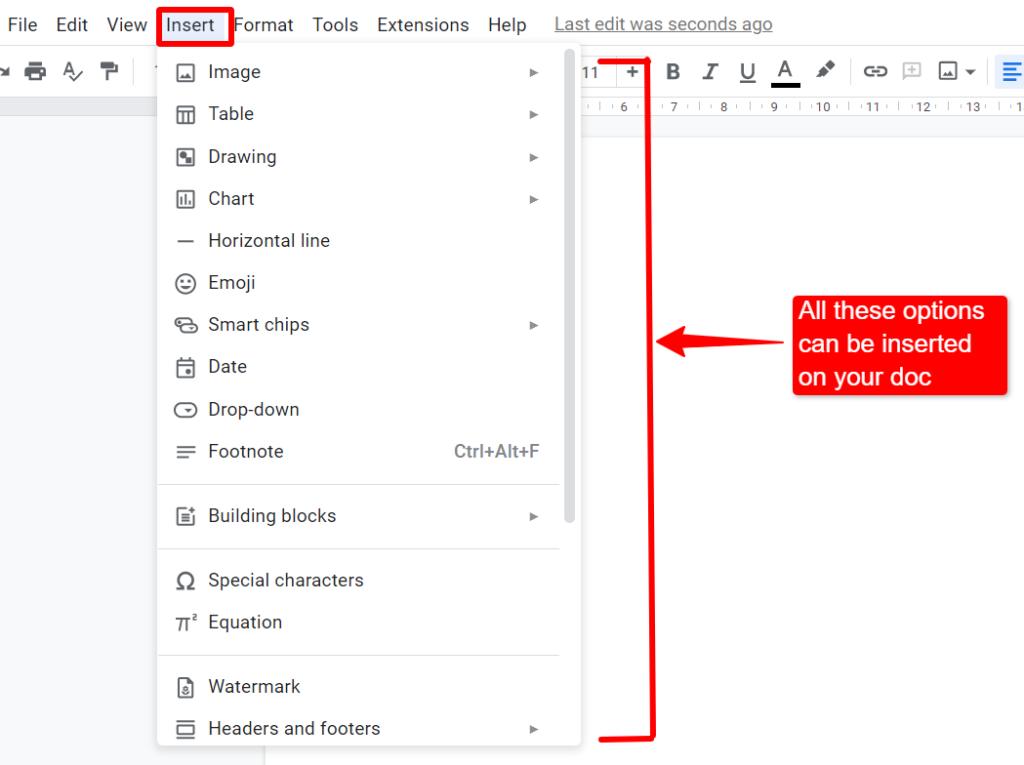
You can insert any image, table, drawing, or emoji by clicking on the “Image” tab. After clicking on the image, a new window will appear where you can select the image and it will be inserted.
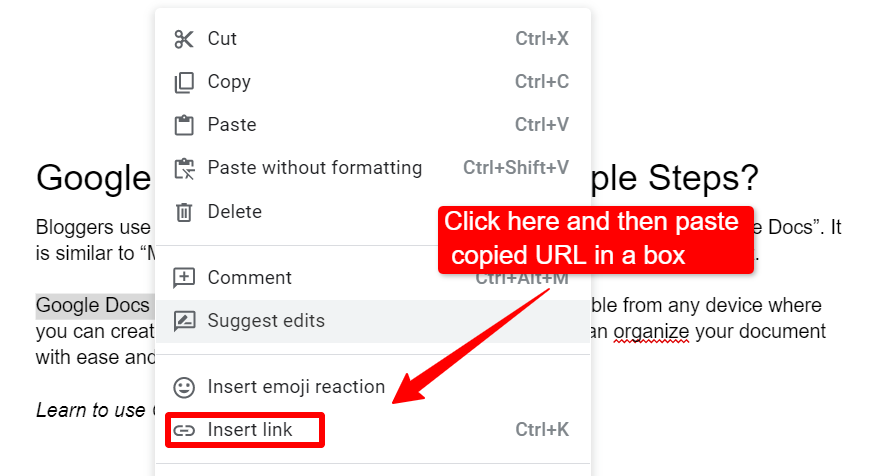
How to insert links?
It’s a very easy process. First copy the link you want to insert, select the words on the Google Docs where you want to apply the link, press “ctrl + K” and paste the link in the popup option. Press enter to apply.
Your link will be inserted and the text will turn blue. You can also remove the link.
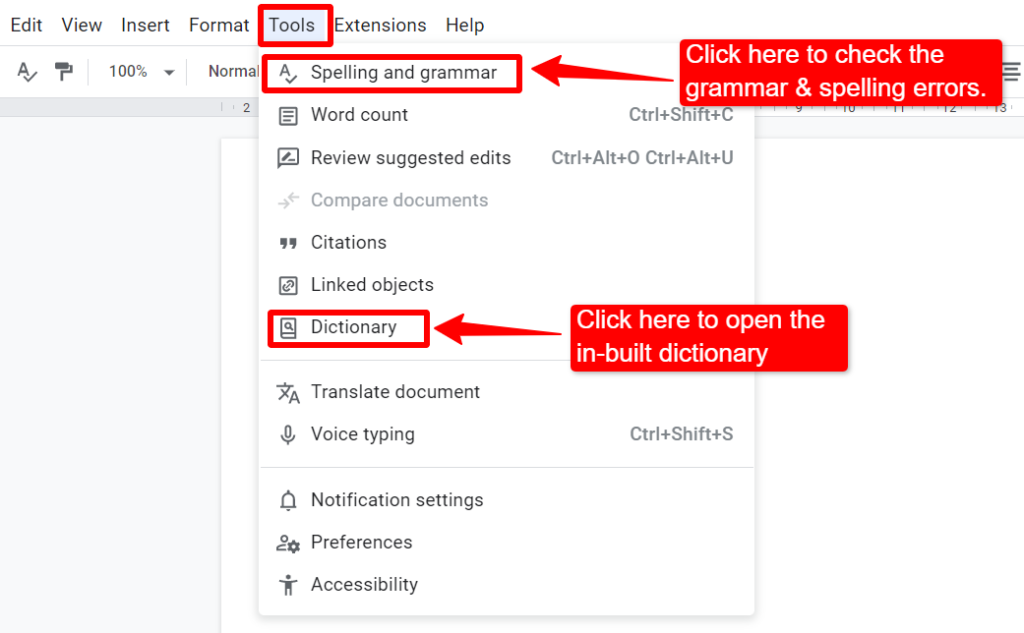
Use its in-built dictionary and Grammar check
Google Docs also has a dictionary and tools to check grammar and spelling errors. It will help in editing your document and making it error-free.
You just have to select the paragraph or document that you want to check and click on the “Tools” tab from the menu bar. Now click on “Spellings and Grammar”, it will show the errors along with suggestions. You can also open its dictionary and search for any word to find out its meaning or synonyms.
If you are writing a book or thesis, you can also take the help of the “Citations” tool to cite the original source in your research.
You can also use the “Voice typing” feature to increase your writing speed.
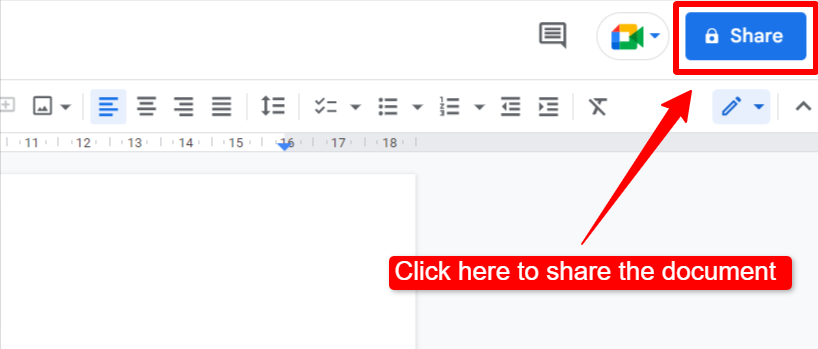
Share your documents with others
You can also share your document with others by making them either viewers, commentators, or editors. Click on the “Share” button given at the top corner of the right side.
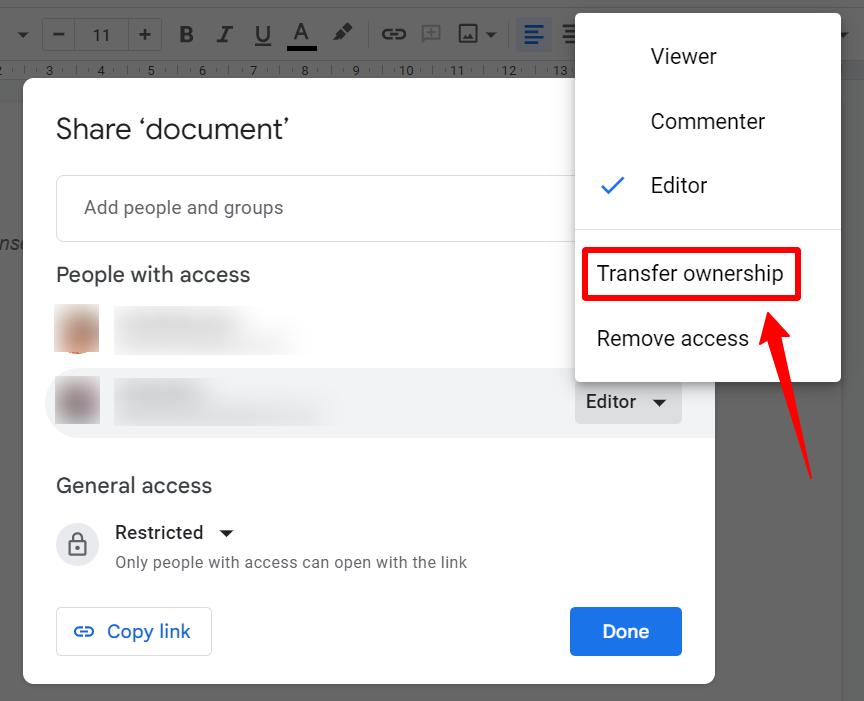
Now type the email address of the person with whom you want to share the document and then select editor, viewer, or commenter options as you want to provide them access and click on “Done.”
Your document will be shared with that person and he will receive a notification too in their email. If you want someone to edit your document then make them an editor, or if you want them to provide suggestions then make them a commenter.
You can also transfer the ownership of your document to another person by sending them a request to accept it.
Note: You can protect your document by restricting access and people who don’t have access will not be able to open it.
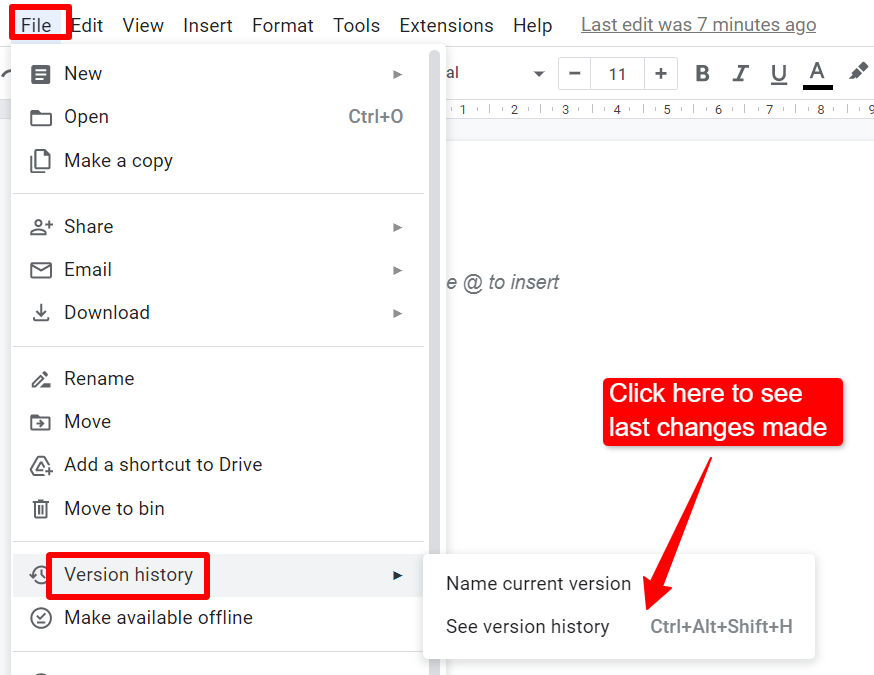
Check recent changes made or version history
After sharing a document, you might want to know who made the last changes and which part. Well, you can check them by clicking on the “File” tab and then selecting the “Version history” option. Now you will be able to check the recent changes made in the document.
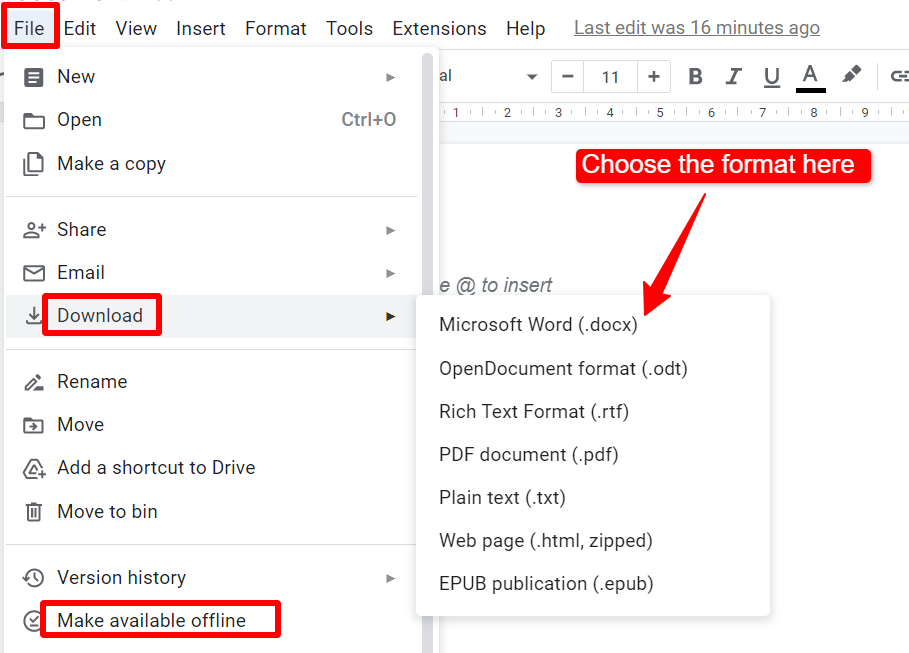
How to download it on your system?
You can download your document on the system by clicking on the “File” tab and then selecting the “Download” option. Now it will ask for the format in which you want to download it either .docx or .pdf. Choose the desired option and your document will be downloaded.
You can also make your document available “offline” instead of downloading it by choosing the option “Make available offline” from the “File” tab. Now without the internet connection, you can edit your document and once you will connect with an internet connection your document will be updated in Google Docs.