Fed up with spam entries and bots? Setup Google reCAPTCHA with the steps and protect your website from spam and bots.
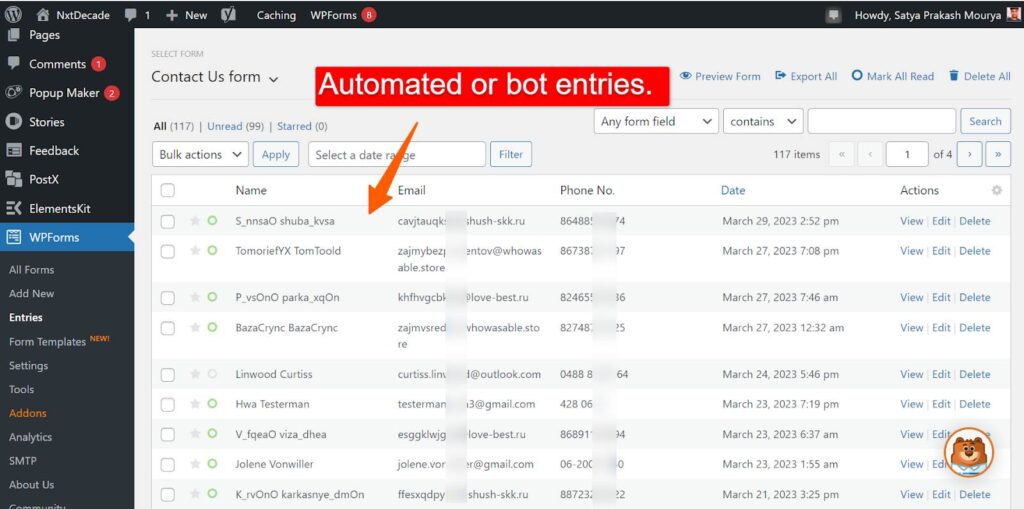
If you’re a newbie website owner, you might be familiar with huge chunks of email or form entries at once. It may seem fancy because of the “number” of entries, but in reality, it isn’t.
Why? Because those entries are spam bots, not humans.
These spam bots are computer programs that intend to do some repeated human activity to either over-promote, steal data or do fraud.
That’s why Google reCAPTCHA exists!
What is Google reCAPTCHA?
Google reCAPTCHA is a free service by Google to protect websites from these spam bots. CAPTCHA stands for, “Completely Automated Public Turing Test to Tell Computers and Humans Apart.”
In simple words, a CAPTCHA is a test to distinguish between humans and bots in the crowd of online visitors. This test is easy for humans but a hard play for bots to solve.
Hence, you can protect your website from malicious software with Google reCAPTCHA. Since bots will be blocked, only human users will be able to login, view pages, or make a purchase.
Let’s start with their types.
Types of Google reCAPTCHA
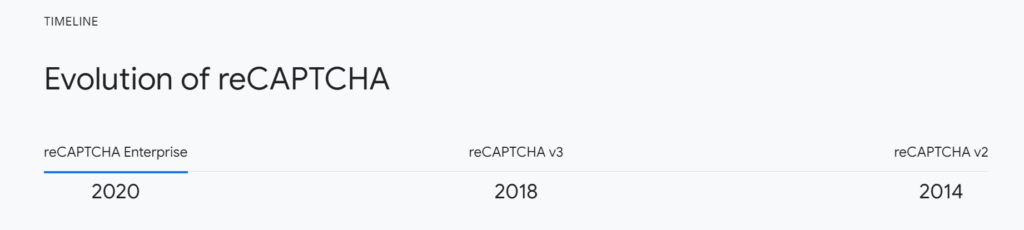
There are three types of Google reCAPTCHA. However, two of them are enough for the beginners to protect their website from spams— “reCAPTCHA v2” and “reCAPTCHA v3.”
Moreover, the third type is “reCAPTCHA Enterprise.” Let’s have a quick glimpse of the third type first.
reCAPTCHA Enterprise
As the name suggests, reCAPTCHA Enterprise is for huge businesses and enterprises. Therefore, it has a few more advantages as well than the other two.
Some of them include — site wide coverage, high precision risk scores, and support, which is a good preferable option for
Now, let’s move on to the Version2 & Version3 of reCAPTCHA for a detailed guide.
reCAPTCHA v2
reCAPTCHA v2 has been the most popular spambot protection software among websites since 2014. As a result, more than 10 Million live websites use it to prevent bots.
The CAPTCHA shows up with a challenge for users to solve and pass. There are still two types:
The “I’m not a robot” checkbox.
The image, voice, or text recognition.
While authentic users can get through these tests, bots can’t.
However, note that advanced bots are always an exception.
reCAPTCHA v3
reCAPTCHA v3 was released in 2018 with more advanced security features. However, only 1.2+ Million websites take it into consideration.
The Version3 stays invisible while keeping count on the user activity. It’s based on behavioral detection and gives a score accordingly.
The score is between 0 and 1. If it’s close to 0, it’s a bot. On the other hand, a score close to 1 indicates a human visitor. Even with advanced security, not many websites consider it for a reason:
The website admin decides which actions gives what score.
For example, CAPTCHA would give a score of 0.10 if the visitor does what the admin has set to be a bot activity. Thus, you may lose many of your human visitors with one wrong step.
Too strict standards can lead to losing real visitors. However, too loose standards can lead to welcoming spambots.
Now that we know about how Google reCAPTCHA works. Let’s see how you can set it up.
How to set up Google reCAPTCHA?
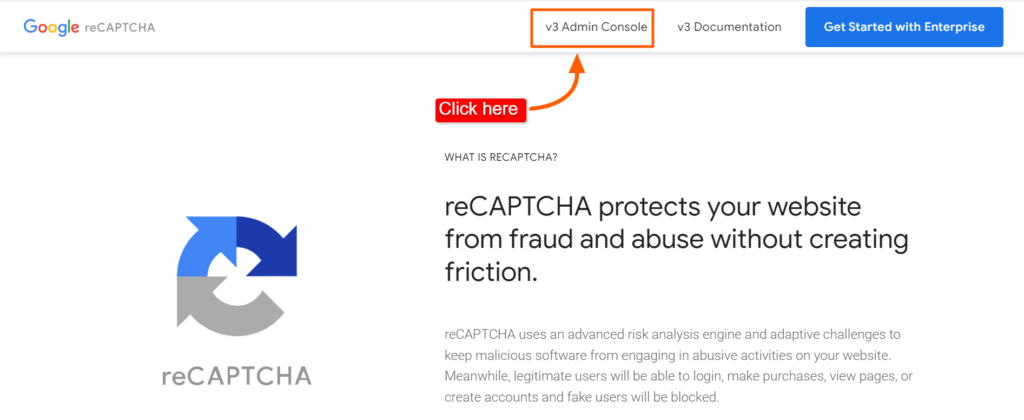
Setting up Google reCAPTCHA start with creating an account. So, the first step is to visit Google reCAPTCHA website.
(Since, reCAPTCHA is a Google’s product, hence your reCAPTCHA account gets automatically synced with your Google accounts in one-click)
Click on v3 Admin Console.
A form to register a new site opens up. You need to fill the following details:
Label: Just a reference name.
reCAPTCHA type: For checkbox, select v2
Domains: Enter domain names to add more sites.
Owner: Enter email address to add owners.
Accept the reCAPTCHA terms of service: check mark the box
Finally click on “SUBMIT” button.
Your site will be registered, and you will get your “Site Key” and “Secret Key” in order connect this reCAPTCHA account with your site.
In the next section, we will see the steps to use the “Site Key” and the “Secret Key” to setup reCAPTCHA for WPForms.
How to set up WPForms reCAPTCHA?
Go to WPFrorms in your WordPress dashboard and click on Settings.
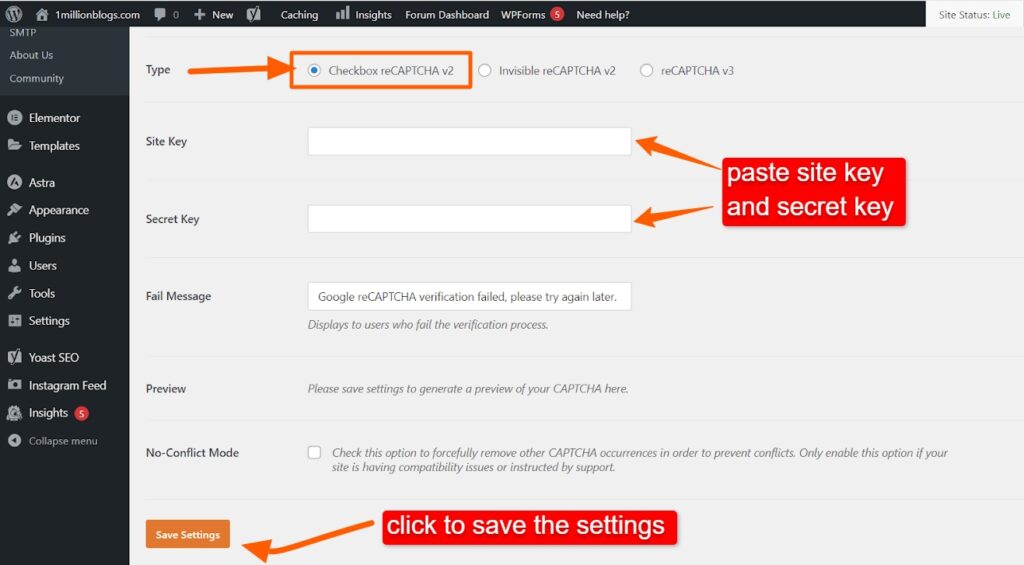
Among the setting options, click on “CAPTCHA” as shown in the screenshot below. Select “reCAPTCHA”.
As you select reCAPTCHA, options to pick the types, and blank space to enter site key and secret key appears.
Copy and paste the site and secret key from your newly setup reCAPTCHA account.
Save the settings.
You will get a “success” notification.
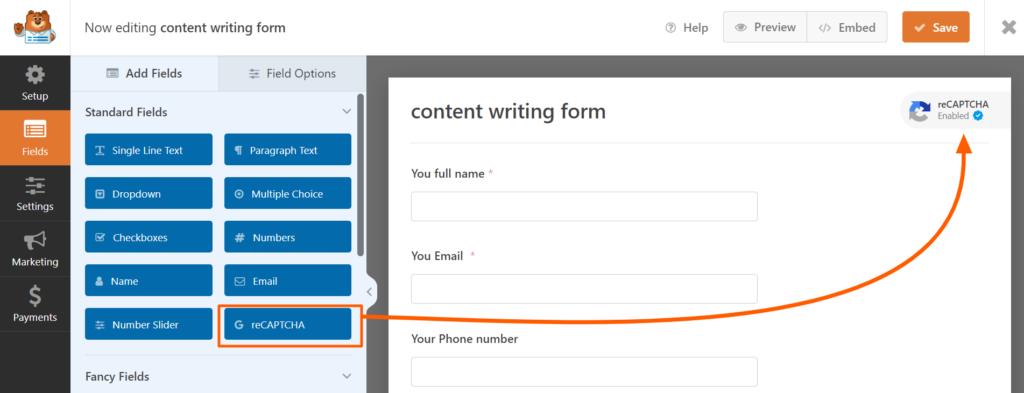
Now, while creating or editing any form in WPForms, click on “reCAPTCHA” to enable or disable it for any specific form.
That’s all in reCAPTCHA.
Just as we used reCAPTCHA for WPForms, we can use the same for other plugins and tools that is compatible with this spam protection method.