Learn to connect your domain-based email with Gmail account to receive all emails there and make your email management easy.
After creating your domain-based-email, its time to connect it to your Gmail environment to use to send and receive emails. It will make email management easy and time-saving, and you don’t have to open your Bluehost or webmail account every time to check or send emails.
You can easily access your emails from webmail to your Gmail account by following a few steps mentioned below:
1. Log in to your Google account
The first step is to log in to your Gmail account (the one where you want to import your emails).
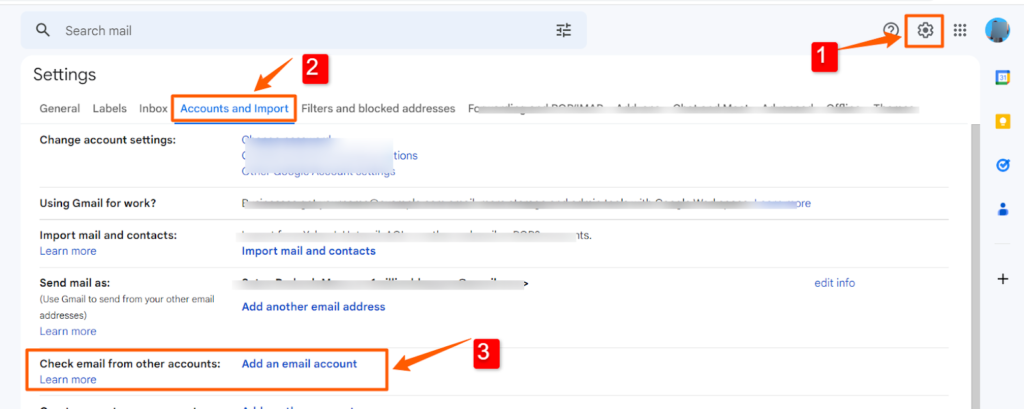
Open your Gmail > and click on the “Setting” icon on the top right corner.
Click on the “See all settings” option.
Go to the “Accounts and Import” tab.
Scroll down to “Check mail from other accounts”.
Click on “Add a mail account”
2. Popup no.1
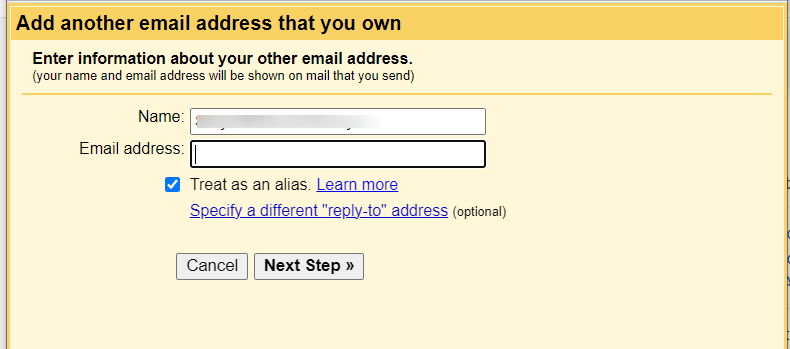
After that, a pop-up window appears up as shown below:
Enter your name and custom email address (the one you created in Bluehost with your domain name) and tick mark on the “Treat as an alias” option. Click on the “Next Step”.
3. Popup no.2
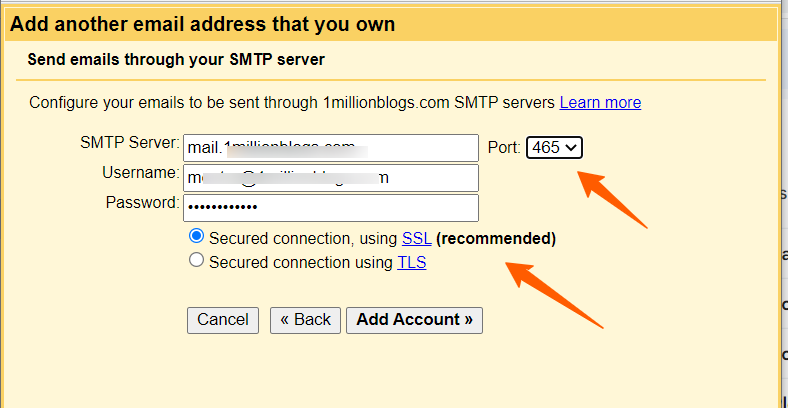
Now, you have to enter the SMTP information from your email host (Bluehost) to link it. Follow the steps given below:
Type the SMTP Server and port number (you can find it in your accounts section of “Bluehost”)
Select “465” in port from the drop down.
Enter your email in the username section, and the “Password” that you set while creating your custom email address.
Tick mark on the secured connection that uses an SSL certificate.
Click on “Add Account”.
A new pop-up window will appear to verify your email account.
4: Verification popup
A confirmation email is sent to your domain-based email which you can receive in your webmail.
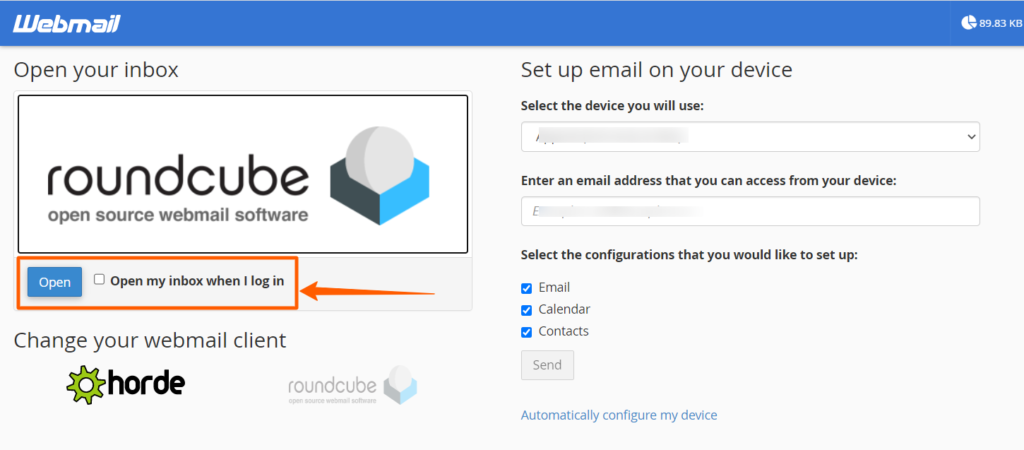
To check that, you are required to go to Cpanel > email account > and click on “Check Email” in front of the email that you are connecting to.
Select “Roundcube” and open it.
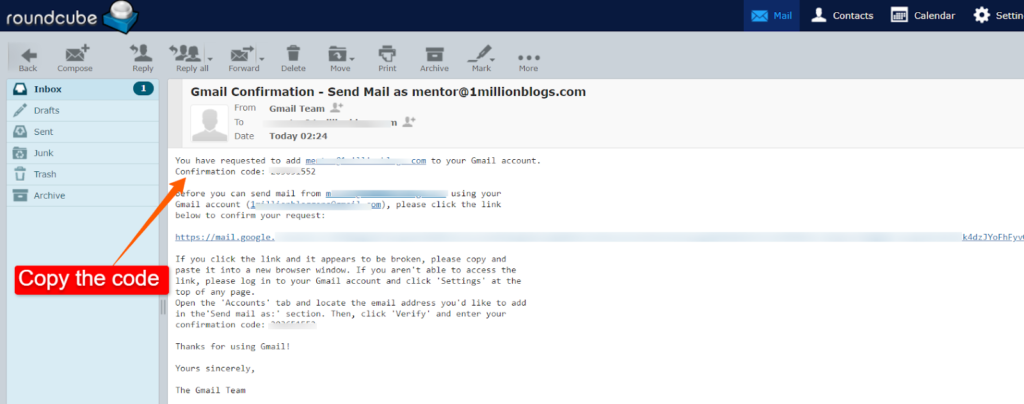
Check inbox. You must have received a email with a confirmations code. Copy the confirmation code as shown below:
Now, open the pop-up window of verification and paste your confirmation code, and click on the “Verify” button.
It will be successfully verified. You are ready to use it.
5. Test it
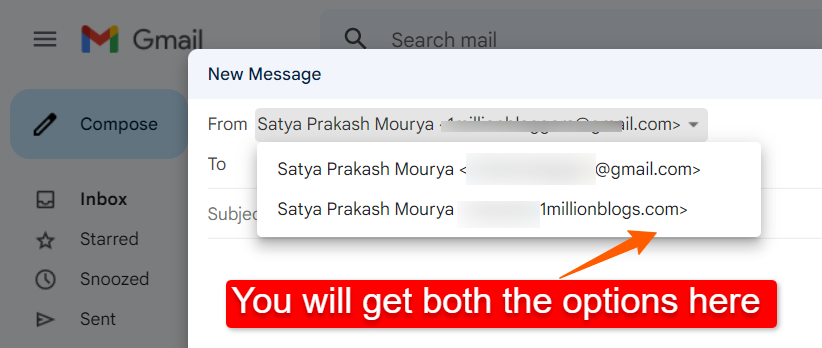
Now to test if it’s working or not, compose a new email with your newly created domain-based email address.
In the sender section, you will be able to choose from both email addresses (Gmail and domain-based email).
Check whether your email is received or not. If everything is working well, you are good to go!