Learn to add some creative and stylish headings in Elementor make your content appear engaging and eye-catching.
As a blogger, you have to create some eye-catching and intriguing headings while creating a blog. You might be thinking it’s a difficult task and only designers can create one. But, this is not the case.
You can also create such headings with the help of Elementor and the various options it offers.
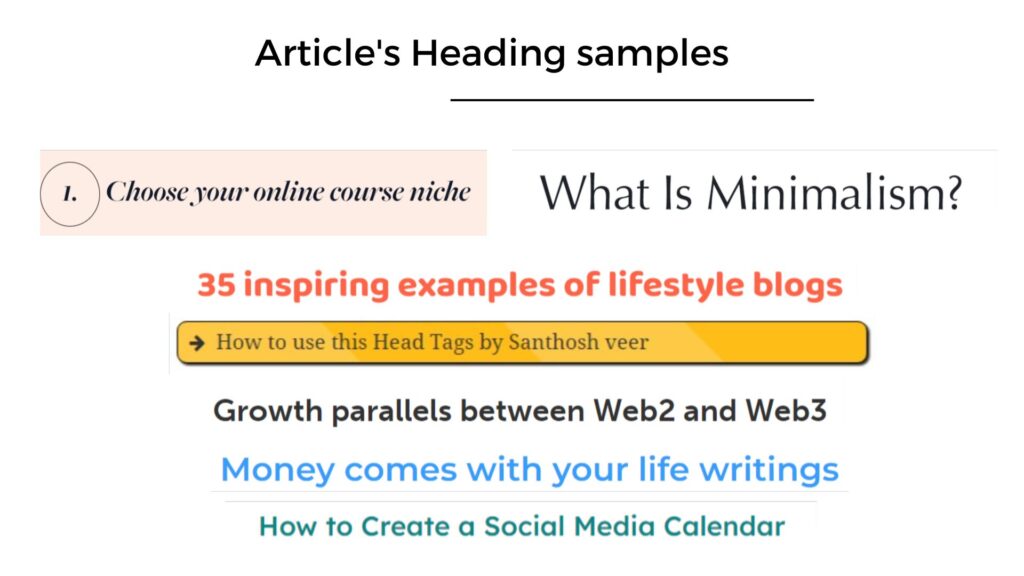
Elementor has a heading widget that will help you in building an attractive header with stylish fonts, background images, borders, etc. Here are some of the examples of headings extracted from different blogs. You can build your own heading pattern and use it globally in your website or blog.
So, stay with us in this article and learn to create mind-blowing heading using Elementor editor.
Adding a "Heading" element
First of all, go the that part of the page or article where you want to add a heading.
Click on the “+” icon given in the Elementor to add a new structure. Select your structure, preferably a single block.
A new block will appear, click on it. Now move to the left side of the Elementor where elements are listed, and drag and drop the “Heading” element to your page.
A “Heading” element will be added with default settings.
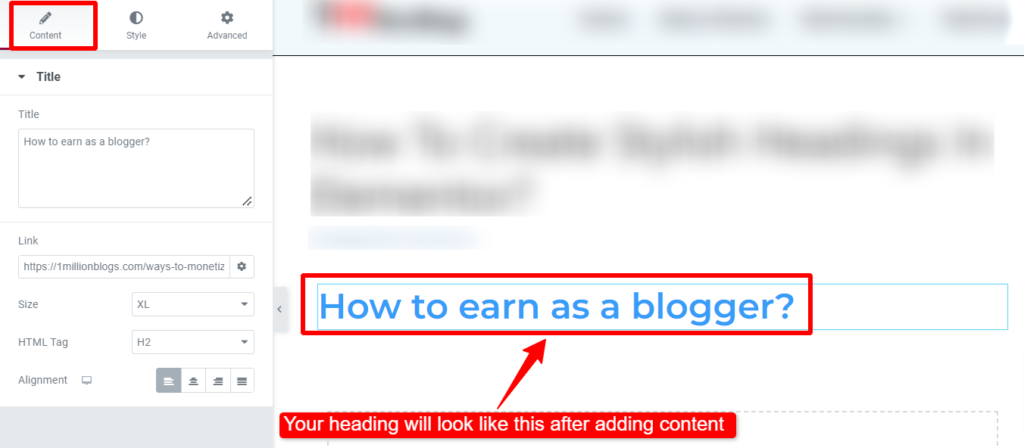
Setting the "content" of heading
These options are used to set the “content” aspects of your heading.
Title: You can type your heading text, like “How to earn as a blogger?” in that box.
Link: Here you can copy-paste the URL of any other webpage with your heading. You can also add a “no follow” or “open in new window” option.
Size: Change the size of the heading from small, medium, large, XL, or XXL.
HTML Tag: Here you can specify HTML heading tag to your heading. You can make it either H1, H2, H3, Span, Paragraph, or Div.
Alignment: You can change the alignment of the heading from left, right, center, or justified.
Your content will be done here and now you can change its style.
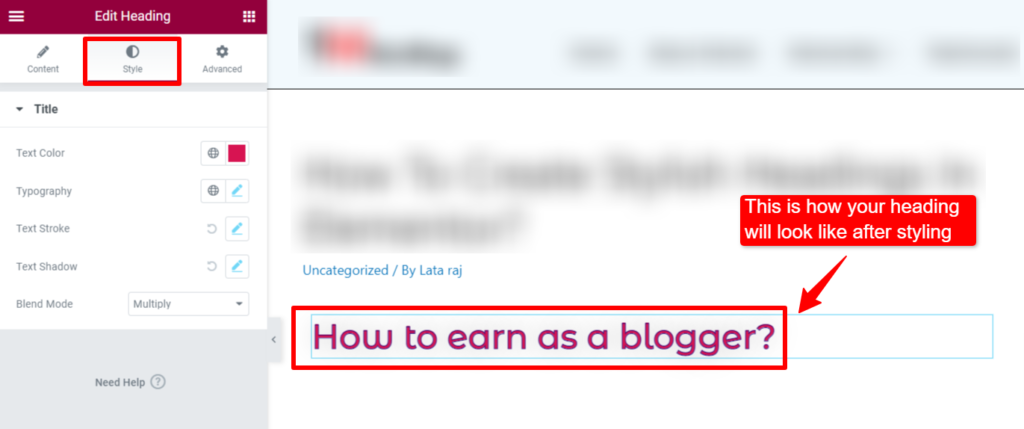
Setting the "style" of your heading
Text color: Change the color of the heading text here. To be more specific with the color choice, use hexacode of the color or use color picker.
Typography: Here you will find a variety of options. You can pick your favorite font, change the size of the text, transform it to upper case or lower case, adjust the line/word spacing, etc.
Text stroke: You can change the outer color of the text by a different color to make it look more appealing.
Text shadow: It creates a shadow effect and you can blur the text to give a more dramatic look.
Blend mode: This option enables the multiple-layer effects from normal, multiply, saturation, darken, etc.
Shown below in the screenshot.
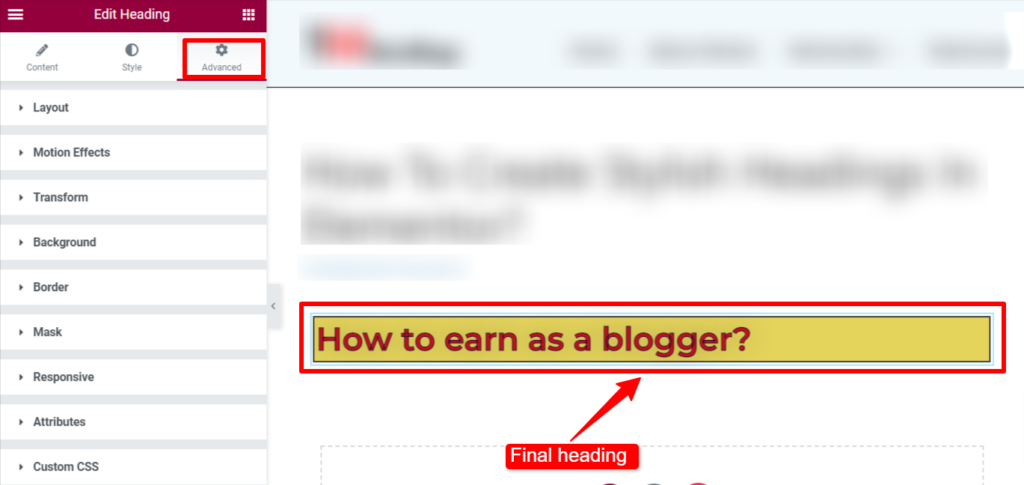
Customize the heading with the “Advanced” feature
Layout: Adjust the margin, padding, width, or position of the heading box either left or right, etc.
Motion effects: Add some animation here along with its duration. When someone visit your page, they will experience the entrance motion
Transform: You can rotate or flip the heading box as you like.
Background: Change the background of the box here with single color or gradient color design.
Border: Change the border here with size, color, and different designs.
Responsive: You can use this option to hide the button on a tablet, desktop, or mobile.
This is how you can make the heading look more creative and attractive with the “Advanced” option.
Video tutorial on "How to add and edit heading in Elementor"
Conclusion
Congratulations! You have learned to successfully add a “heading” in Elementor and customize its appearance. You can experiment more by yourself to find the best design for the headings in your articles.